How are steel lintels held into position?
Lintels offer so many benefits to a homeowner. Although installing lintels in every building is not required and can be overkill, they will absolutely get the job done in every residential, commercial, or industrial building they are placed in. Lintels are often called support beams that are usually placed above the openings in a particular building, such as doors, windows, fireplaces, and vents.
Because lintels help in keeping the integrity of a building and are very effective in minimizing the risk of cracks from appearing, they are very valuable in the construction industry. In fact, there are many types of lintels and they also come in different types, materials, and lengths.
So, how do lintels get placed?
One of the many variants of lintels is a steel lintel. If you have a steel lintel, there is a high chance that the opening in your building requires a higher amount of support. After all, lintels that are made of steel are considered to be stronger compared to other lintels made of various materials.
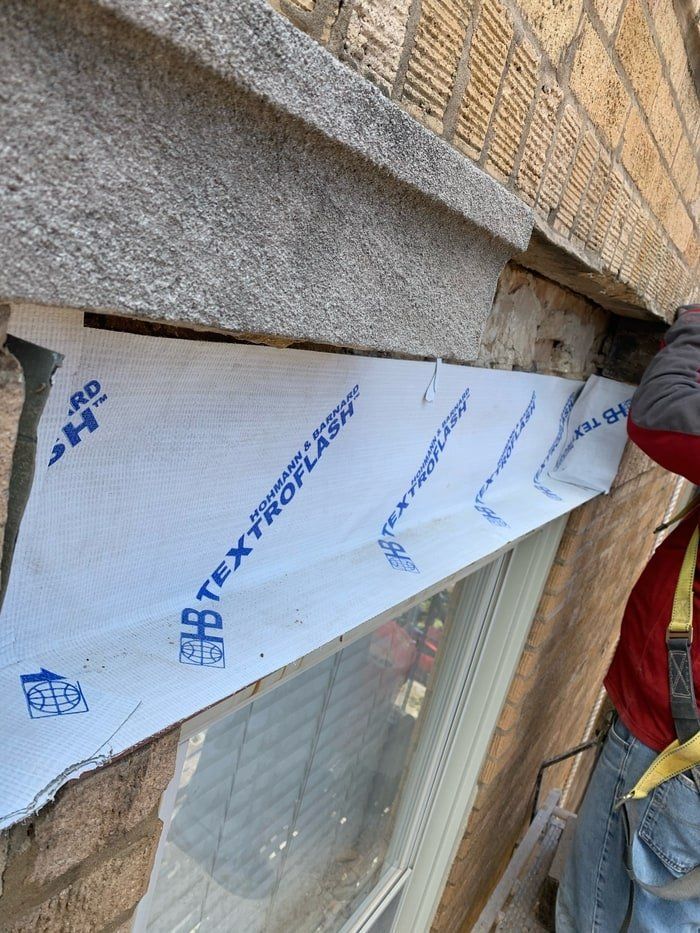
In order for a lintel to do its function properly, it will need to be placed into position correctly. Steel lintels are often held into position by chiseling away a cavity into the mortar that is directly above your opening. To understand this better, here is the process of placing a lintel into your masonry.
Step 1: Preparation phase
Before having a lintel installed above the openings in your home or building, you will need to make sure that the lintel you will be using is the right type and material that will fit your need. After all, you would not want to install a lintel that will not be able to carry the amount of weight that it will need to support for many years.
In the case of steel lintels, this particular type of beam is very expensive. Make sure to ask your contractor if they are really necessary or if there are other cheaper alternatives. Once everything has already been decided, it would be best to let your contractor measure the openings and have them order the steel themselves. Depending on your project, a pre-cut standard cavity steel lintel may get the job done.
Step 2: Make the cavity
Before making a cavity or space for your lintel, make sure that the area was measured properly. If you are doing this yourself, it would be best to measure the size of your opening and add at least 150 millimeters to each end as an allowance.
How exactly you do your cavity will depend on several factors, such as the type of steel lintel and the type of structure where you will place your lintel in. In most cases, this is usually done by using a hammer and chisel to chip away the masonry to make a place for your lintel.
If your structure is made of other material that can be hard to chisel out, you may need to use a grinder or drill. Use your chisel or a brush to remove the crumbled mortar that is still inside the cavity you have made.
Step 3: Place the mortar
Mortar is used to not only fill in gaps but also as a glue to hold materials in place. In this case, we need mortar to act as a glue to keep your steel lintel positioned with the masonry above your buildings’ opening. This can be done by using a trowel to fill the cavity or slot you have made with mortar. Make sure that the mix you will use is strong enough to hold a heavy material such as steel.
Step 4: Place the lintel
Once the mortar is already placed on the cavity, you can place the steel lintel within the slot. You may need to call for another set of helping hands as steel can be very heavy.
Step 5: Secure the lintel
Use a hammer to place the lintel into the cavity in a more secure manner. Make sure that it is stable and is evenly placed in order to avoid problems in the future. It is very important to remember that if a lintel is not properly placed, it can be useless. If there are any mistakes or if you have any doubts about the way it was positioned, it would be best to redo it now or you will have a bigger problem in the future.
Step 6: Place mortar between the cavity and lintel
Inspect the cavity where you had the lintel placed. There may be times when there are gaps that have not been inserted with mortar. Make sure to fill these holes with mortar using your trowel or finger and let it dry completely.

What are the benefits of having a steel lintel?
There are many reasons why steel lintels are highly preferred in the construction and building industry. Some of these are:
1.Steel lintels offer better support.
Compared to other materials, steel offers better support as it is made to accommodate both tensile and tension stress. In fact, lintels made of steel are known to carry a higher amount of load even if the lintel used is significantly thinner, compared to a lintel made of concrete. Also, because a little steel can be a lot when it comes to support, structures can be made to be less bulky.
2. Steel lintels can be used with other materials.
Many experts in the construction industry would prefer materials that are compatible to be used with other types and variants. When it comes to steel, this particular material is very versatile and can be combined with other materials that will be used for a project. For example, a concrete lintel can be made with steel to make sure that it will be better to adapt to tensile stress which is a cheaper technique instead of using a full steel lintel.
3. Steel lintels are more convenient.
Another reason why contractors find it easier to work with steel is that steel lintels can be manufactured in different sizes and shapes that will surely fit most construction projects. Steel lintels are also usually easier to install which lessens the expected amount of time to complete the project, making it cheaper when it comes to labor costs.
4. Steel lintels are resistant to fire, corrosion, and movement.
Aside from their strength and durability, lintels that are made of steel have better resistance to fire and rust and are also proven to offer more support from natural movements such as earthquakes.