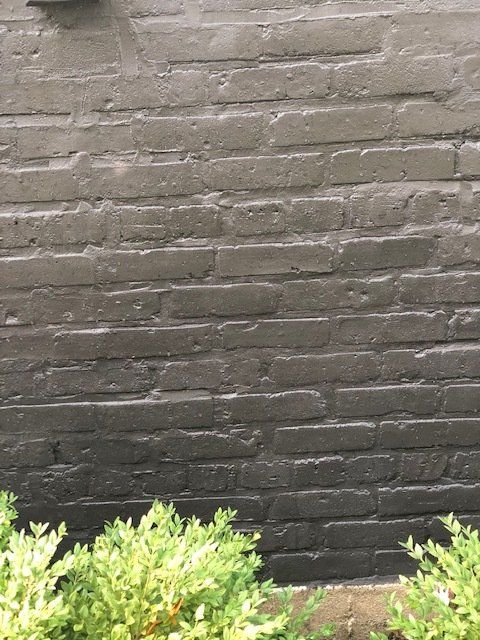
Can you paint over natural stone?
Natural stones are the material that is usually taken from the earth, such as marble, limestone, and slate. Because of their classic and timeless beauty, they are now being used in the modern time as a building material and also as decoration for miscellaneous stuff.
One of the most common uses of natural stone nowadays is in fireplaces, floors, and walls. Not only are they attractive, but they can also be used in a variety of projects that will surely do their function properly. Due to the reason that there are many homes and establishments that have a natural stone feature in their building, there are also many adjustments and customizations that are done in order to keep their natural stone structure to keep catching the eyes of its occupants and visitors.
Is it possible to paint over stone?
Natural stones are often beautiful, charming, and classic. However, as time passes, there might be a need to do some renovations or spice things up. If you are curious whether it would be possible to change the look of your natural stone and change its shade, yes, it is absolutely doable. In fact, if you have the materials that are needed along with the patience and time, painting over your natural stone can be considered an easy task.

Slide title
Write your caption hereButton
Things to know before starting
Before trying to paint over your natural stone, whether it is your wall, fireplace, floor, or other surfaces, you will need to know the following tips to make the process easier and to avoid any mistakes that can be expensive and wasteful to fix.
Tips, techniques, and tricks in painting over your natural stone
1.Inspect your stone’s surface first.
When you are planning to paint over your natural stone, the most important you need to do is inspect it first. Make sure that there are no crumbling, chipped parts, and moisture issues before getting ready for the next process. This is because painting over the natural stone that has an existing problem will not be very wise, as it is possible that you will need to get it redone when it fails, which makes you spend double the resources that you invest.
If you see that there is indeed some chipping and other issues with your natural stone, it would be best to get the help of a contractor and have it fixed as soon as possible. This will lessen your worries, especially if the particular problem can cause damage to the structure of your building in the long run.
2. Make sure that you have all the necessary materials and equipment.
Preparing all the necessary materials and equipment before starting your project will be one of the best things you can do. Not only will you save valuable time and gas from going back and forth from the store to get what you need, but you will also be able to make sure that the material you have bought will be a right fit for your natural stone, as some would require a specific brand or make of paint and primer.
Here are the things one would usually need for the project:
For cleaning and prepping the surface, you will need:
Stiff-bristled brush, Soft-wired brush, Vinegar, Spray bottle, Wiping cloth, Safety gear such as mask, gloves, and glasses, Drop cloth, Broom, Pressure washer
For priming and painting the surface, you will need:
Primer, Paint that would work with your stone, Roller, A variety of paintbrushes in different sizes and angles, Paint tray, Painter’s tape, Safety gear
3. Prepare and clean your natural stone’s surface.
Now that you have all the materials, it is time to start the prepping of your natural stone’s surface. You will use your white vinegar to wipe the natural stone and get the dust and powder that have accumulated on it. Make sure that you are already wearing your safety gear at this point, as it is possible to inhale the powder or have it enter your eyes. Place your drop cloth under the surface for an easier clean-up later.
Scrub your stone using your bristled brush. Once you are satisfied, you can spray the surface with minimal amounts of water and wipe it gently with a dry cloth. Let it dry for a couple of hours. If your natural stone has a stubborn stain, you might need to use a pressure washer. Just make sure that you will dry the surface completely before proceeding to the next step.
4. Prime your stone.
Although priming is optional, most masonry professionals suggest putting primer before painting in order for the paint to last. You can apply the primer using a roller and a smaller-sized brush for the edges.
5. Start the painting process.
While wearing your safety gear, you can now start to paint over your natural stone. Make sure to put your painter’s tape in the edges or parts that you would not want your paint in. Be patient and apply the coats liberally for the outcome to be attractive and cohesive. Use your roller and paintbrush as you see fit, as this would depend on your stone’s surface. Two coats are more than enough for most natural stone painting projects, though your stone may need fewer or more coats.
6. Clean up.
Once you are done, be sure to close your paint cans properly, as most are highly flammable and are harmful once inhaled by humans and pets. Fold your drop cloth properly and then remove your painter’s tape.

